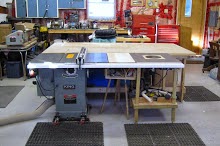
I can't believe it's been over 3 1/2 years since I made anything worth posting on this site, time for a post. We have been thinking about a new bed for a while, the one we have I made in '96 in an old shed with had tools and some power tools. Things are a bit different today with the shop I have now. I still have some work ahead of me but I wanted to show how things are going. I am using old pine boards I got this fall for a Gentlemen who isn't doing much woodworking anymore and was willing to let these treasures go. I started with rough cut 1 x12 x8 foot long pine boards, I had to dress about 16 of them to find enough clear pine for the head and foot boards, there was a bit of knotty pine in there. So I dressed the lumber, cut to rough dimensions, then to finished dimensions. I had a bit of glue up to do for the headboard, legs, top rails, side rails and support boards for the slats. Oh did I mention this will have slats and only a mattress, no box spring. Here is how it's going, so far.
 |
| Here is the rough cut lumber I started with. |
 |
After the first run through the planner,
I got 7 bags of shavings |
 |
Cut to size and 4 more bags of shavings.
|
 |
| The legs are glued up, these are the top rails. |
 |
| Side rails glued up, a little clean up required. |
 |
| Dry run of the legs and rails. |
 |
| Mortis attached for the drill press set up. |
 |
| Footboard dry fit, now to cut the top rail. |
 |
| Headboard dry fit done. |
 |
One more dry fit, it looks great,
now to tapper the legs. |